How do I create a document?
How do I create a letter?

Mike Jackson
Last Update 5 лет назад
After you have completed the data entry into Prolegis, you are now ready to produce documents. You can produce documents at any stage of the process, however, the more complete your data entry, the more complete the documents will be. If you are sending an initial client letter, you likely will not need to populate the entire matter to send a fully completed letter, but if you are looking to produce the transfer documents, you will, at a minimum, want to upload the title.
In Prolegis, you will be able to edit the language of the documents in your browser window without needing to export the document to a separate piece of software for completion.
To create the documents, either go to the Progress Dashboard and click +Create on the relevant checklist step OR go to the Documents Action, click +Precedents and select the document you would like to produce.
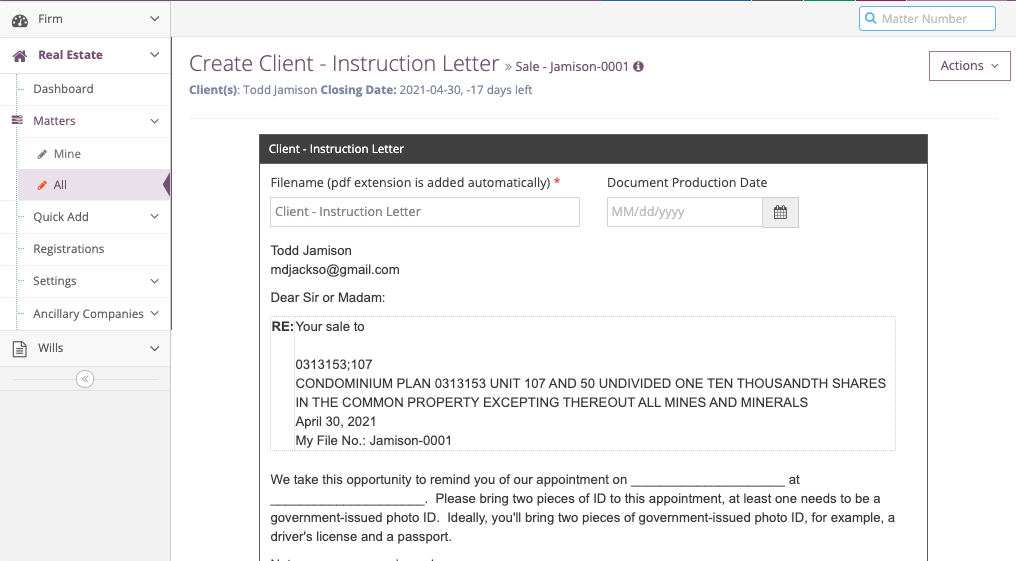
To edit the text, click on the editor window. Place your cursor where you would like to make the change and make the changes you would like to make. You can also highlight text to remove or change the formatting on that text.
To add a single space, click “Shift” and “Return” on your keyboard at the same time.
When you click in the editor window, you will see a menu bar with editing options.

What follows is a brief description of some of the menu functions. The descriptions begin on the top row and move to the right, then go to the second row and move to the right.
- “Scissors” - Cut a section of text that can be pasted later. This removes the text from the editor window.
- “Two overlapping documents" - Copy a section of text that can be pasted later. This does not remove the text from the editor window.
- To Paste, we recommend that you use the paste function from your browser. For Chrome, as an example, once your cursor is in the desired location, click “Edit” then click “Paste and Match Style”.
- “Magnifying Glass” - allows you to search the document for a specific word or phrase
- “b a” - allows you to search the document for a specific word or phrase and replace that word or phrase with something else.
- ABC – checks the document for spelling errors.
- Styles – provides four different text spacing options.
- Font – allows you to select a different font.
- Size – allows you to select a different font size.
- A – allows you to select a different font colour.
- A – allows you to highlight text with a different colour
- Rectangles – allows you to see the different blocks of the precedent document.
- Page break – inserts a page break, inserts a section and page break, creates a new documents
- B – inserts bold text
- I – inserts italicized text
- U – inserts underlined text
- S – puts a line through the text
- X – allows you to insert text that is subline; allows you to insert text that is above line
- Paintbrush – allows you to copy the text styles and apply them to new text
- Tx – is to remove all formatting from the text
- 1… 2… - is to add a numbered list
- Bullets – is to add a bulleted list
- < is to decrease the indent
- > is to increase the indent
- Table – is to add a table
- Line – is to add a line
- Chain – add a hyperlink to your document
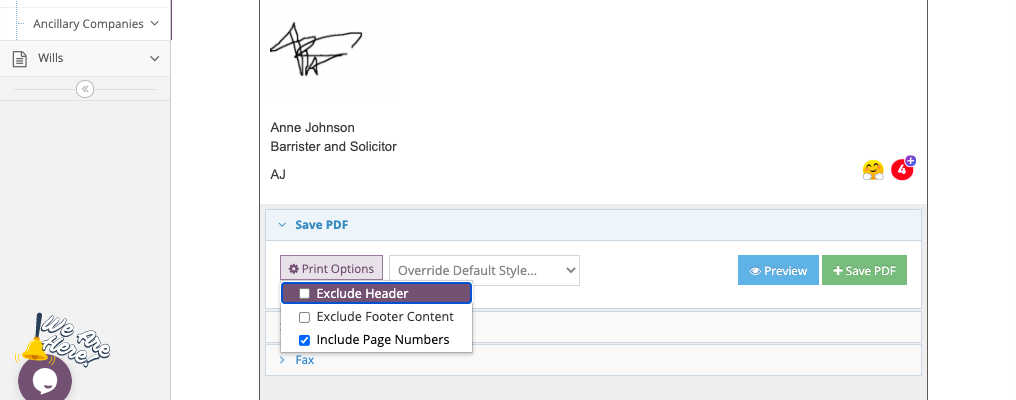
To add a header, footer click “Print Options” and select the desired configuration.
To select a different document style type, click “Select Style” and select the desired document style. This style represents a header and footer.
To preview the document, click Preview, which will give you a view of what the document will look like as a PDF.
To save the PDF, click +Save PDF. The document will be created as a PDF and automatically saved in the Documents Action.
How do I change the margins on the document?
You can set up templates that have your prefered alternative margin widths and text sizes. The mortgage editor shows you the text and formatting that is included in the body of your document. To apply changes to the margin, simply click Override Default Style and select the template that has the margins that you would prefer for the document.
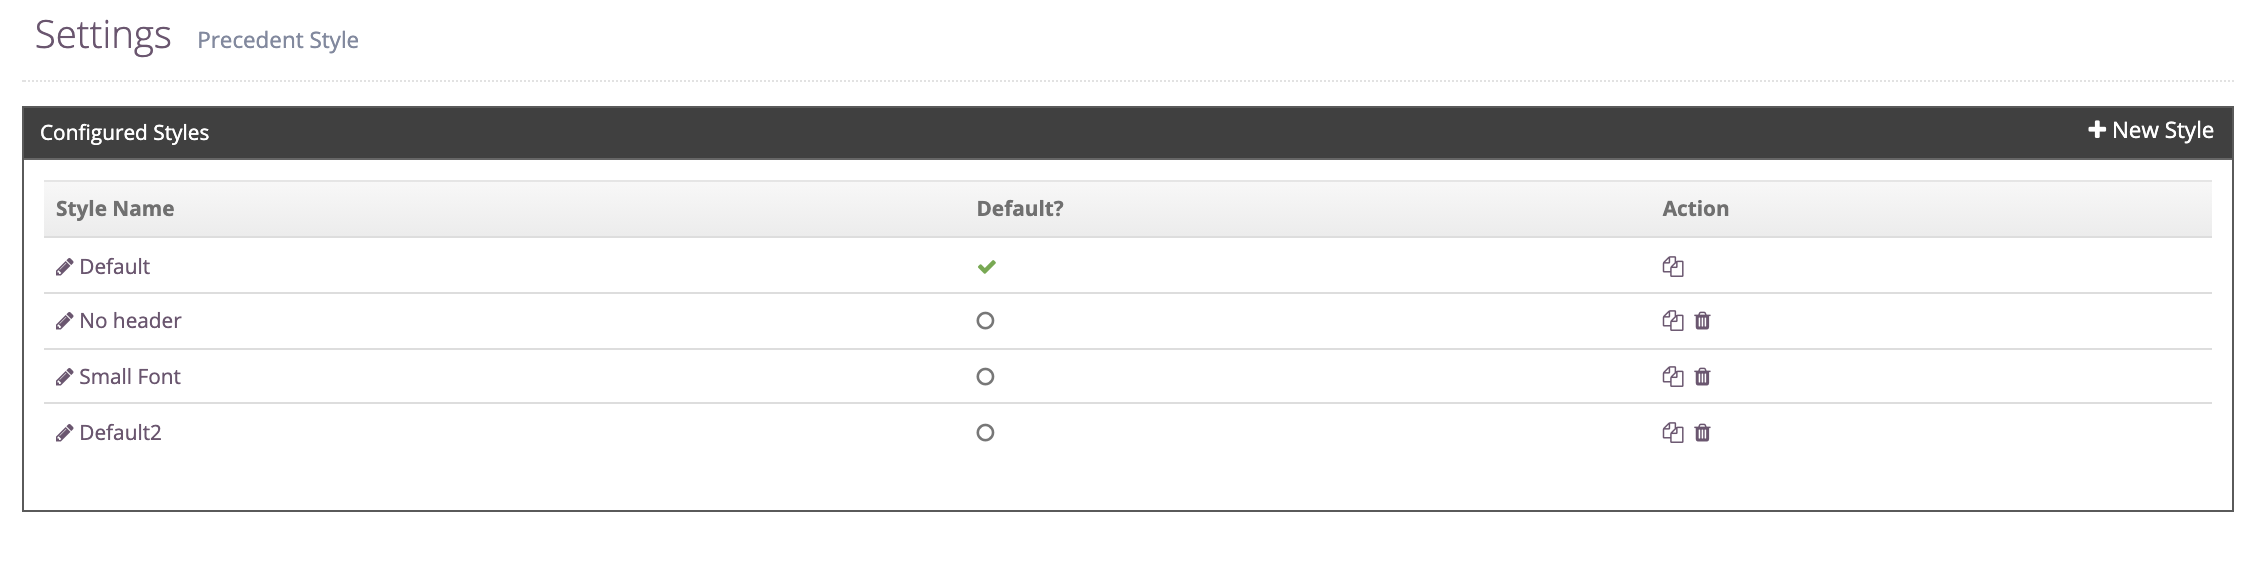
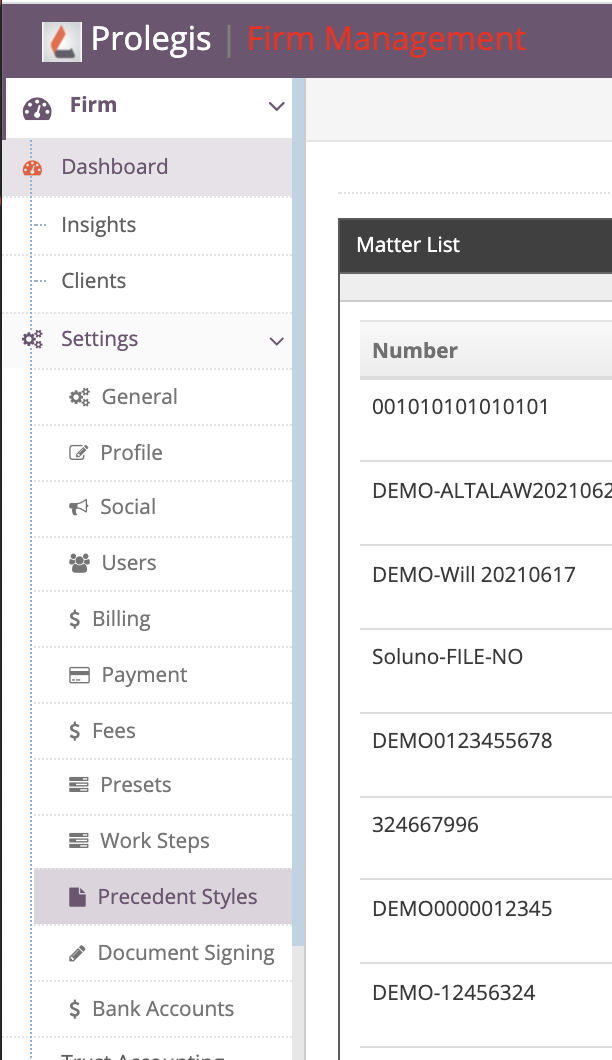
For guidance in setting up the Default Style, go to the Precedent Styles in the Firm menu on the left side of the screen.
You will see a list of your current templates. To create a new template from an existing template, simply click the copy button (two pages overlapping) and adjust the settings in that template to match the margin, text size, etc. that you would like for the letterhead.